Character process
1. Blocking:
First thing I do is the blocking. I place basic shapes using a reference to get just the basic shapes of the character. Doing this I think is very importan because it saves time and effort, establishes correct proportions and scale and it also establishes the foundational structure of your asset before you invest time in details.
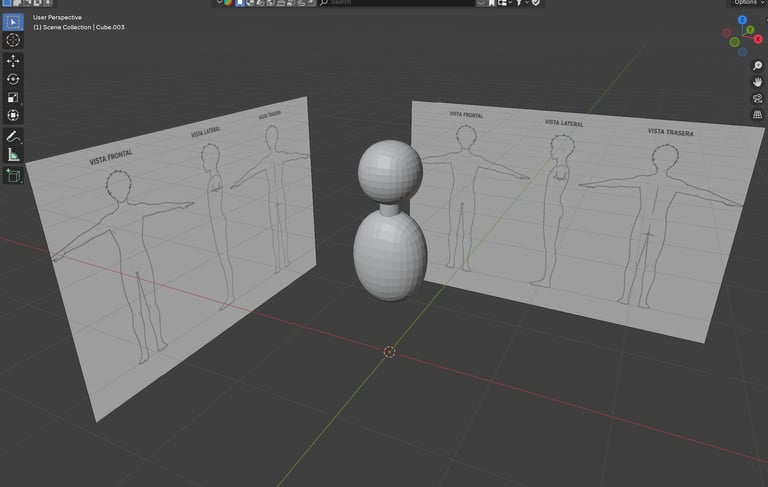
2.Sculpting:
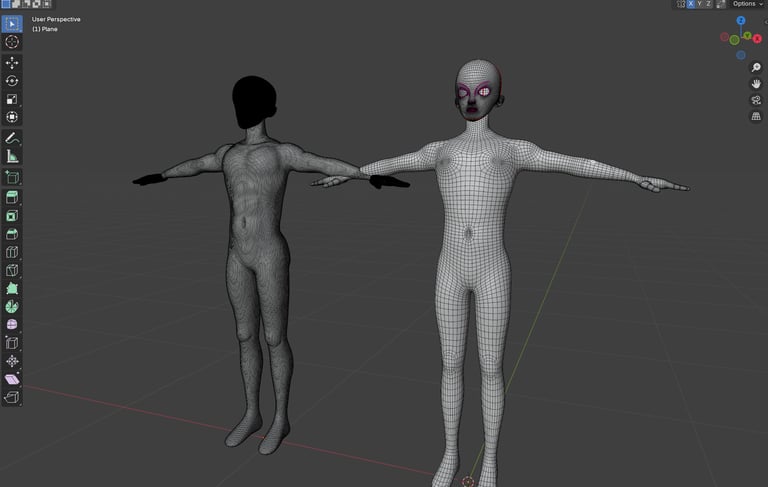
Once I finish the blocking, I progressively increase the geometry density using the remesh modifier to sculpt secondary forms, anatomical features, and hard-surface definitions. Finally, I apply high fidelity tertiary details such as the lips shape and nose. After you finish this process you can start with retopology.
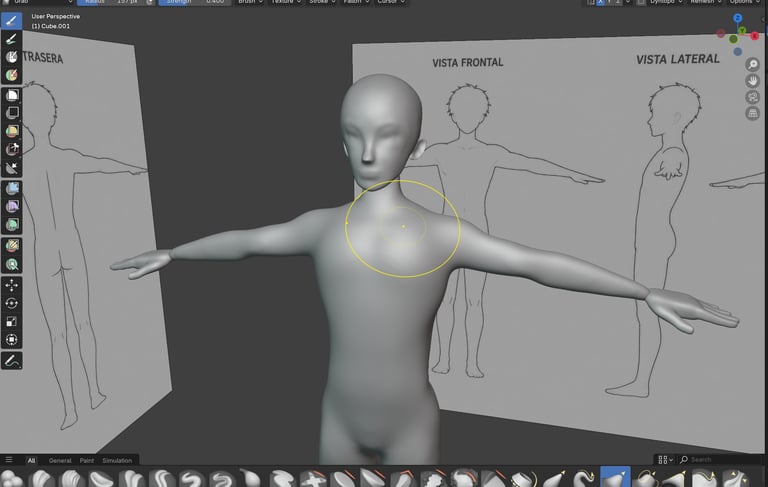
3.Retopology:
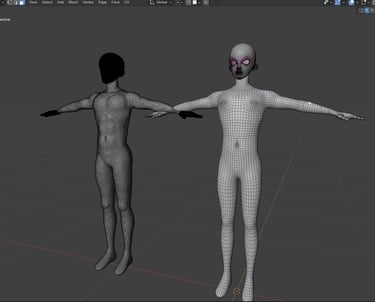
Following the sculpting stage, I perform retopology to convert the high-poly mesh into a clean, optimized low-poly model. This process focuses on creating efficient edge flow and precise topology that conforms perfectly to the original silhouette. By strictly managing polycount and ensuring proper vertex placement, the final asset is fully optimized for deformation, animation, and seamless texture baking in the production pipeline. To do this i apply a shrinkwrap modifier to a plane and using the snap option I start following the shape of the high-poly mesh.
4.Hair:
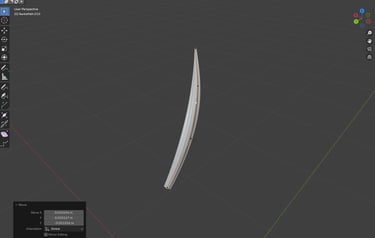
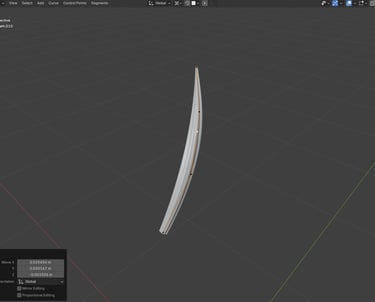
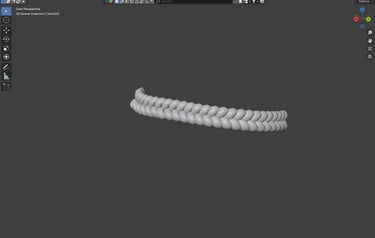
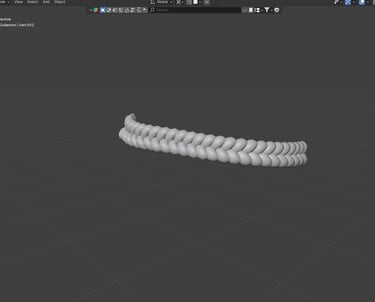
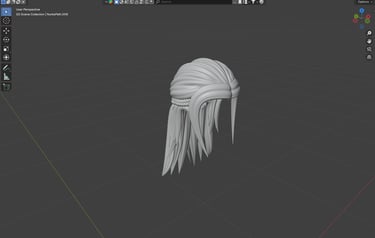
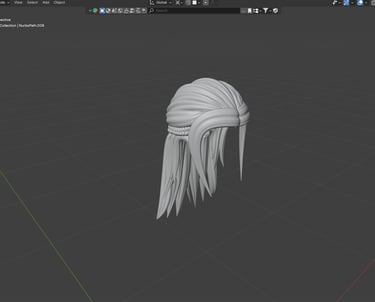
After I finished with retopology, i start with the hair. For the hair I used curves for the most of the time, I start with a path curve and then i modify the shape to get close to the final result I want to achieve. I repeat the process until I have all the single hair placed on their possition to get the shape I want. This process can be slow but you can get as creative as you want.
5.Rigging:
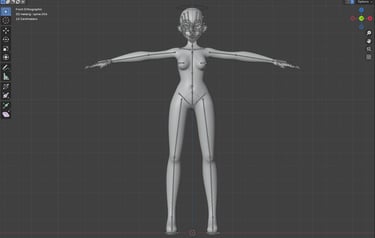
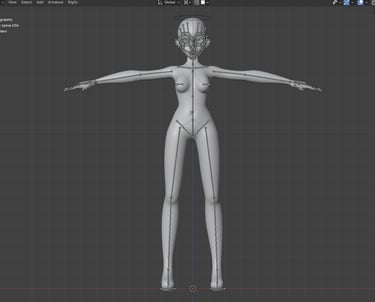
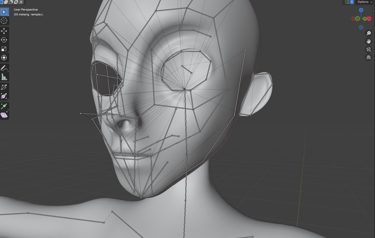
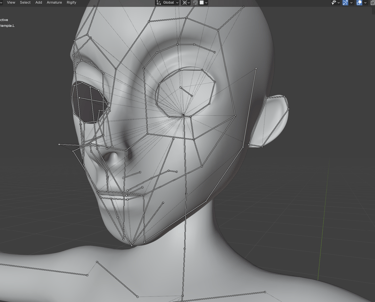
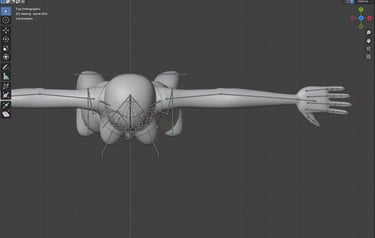
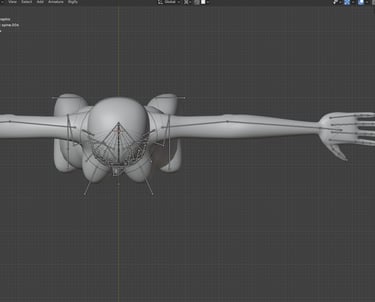
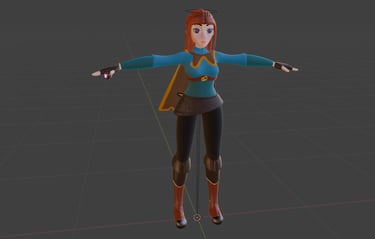
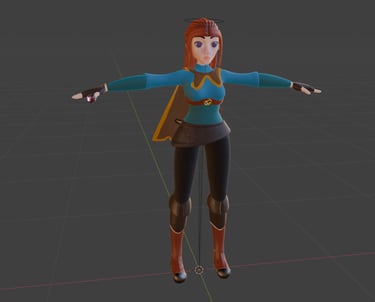
After creating the model, I build its digital skeleton to prepare it for movement. I place the joints carefully and link the character's skin to the bones so it bends naturally without stretching strangely. This process is essential for bringing a character to life through animation, improper bone placement can cause weird deformations when moving or animating the character.
6.Apparel and props:
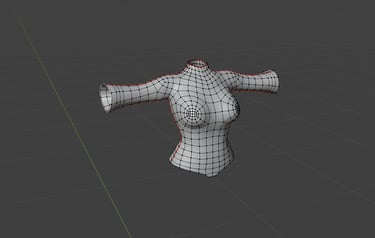
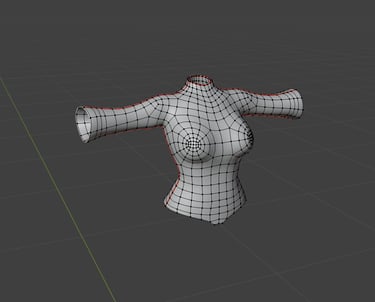
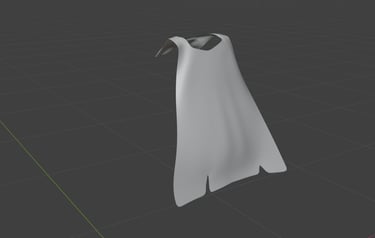
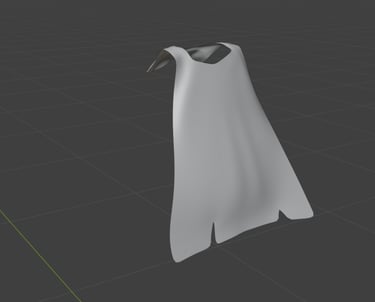
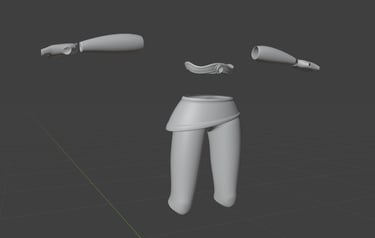
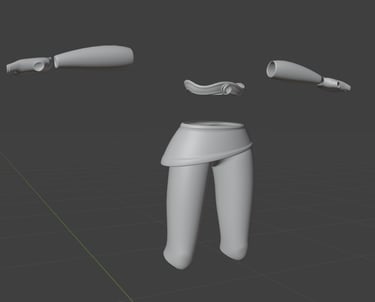
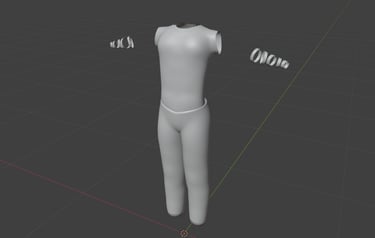
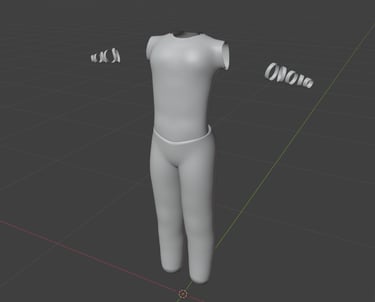
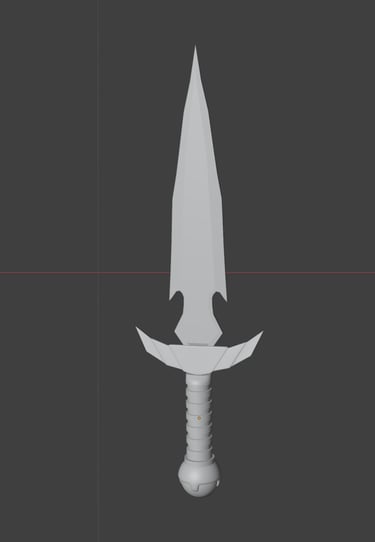
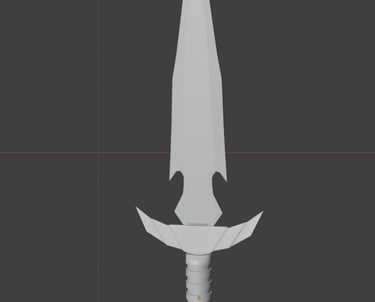
To create the character's apparel, I utilized a dual approach. For certain garments, I extracted and adapted the clean topology of the base mesh to ensure a perfect fit and efficient geometry. For other pieces, I used standard box modeling techniques, relying on a diverse range of reference imagery to accurately capture the folds, shapes, and overall design of the final result.
7.Texturing:
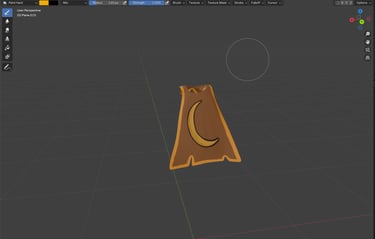
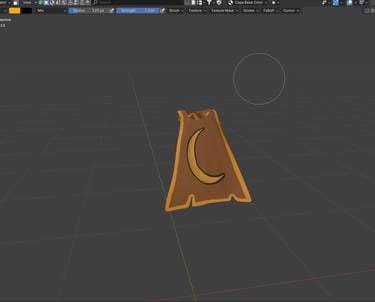
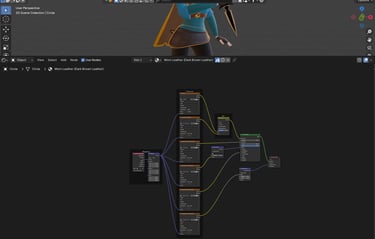
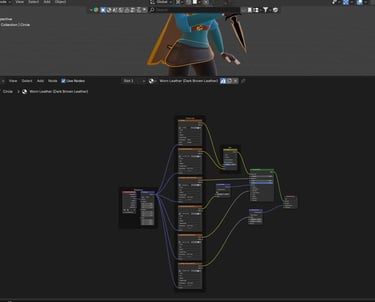
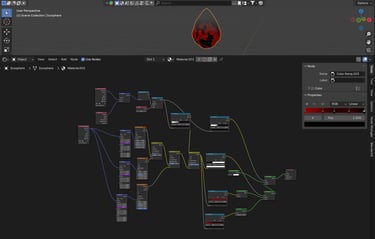
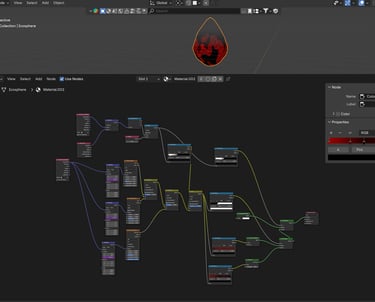
After mapping out clean UV coordinates to ensure optimal texture resolution, I combined two different techniques for the texturing phase. I utilized the Shader Editor nodes to create complex, procedural material behaviors and lighting effects. At the same time, I used texture painting techniques to manually add specific details, colors, and hand-crafted features directly onto the surface, achieving a highly controlled final look.
8.Final Render:
Once you finished with all these steps, the final part is the render. In this step is where you place the background, lights and camera as you want to get the final result.

